🎬Gmail Action
Automate sending emails through a simple integration with your gmail account.
Transcript
Getting Started
- To start go to Automations under any app
- Click create the + Automation button at the top-right corner
- Select the desired trigger and add the necessary conditions
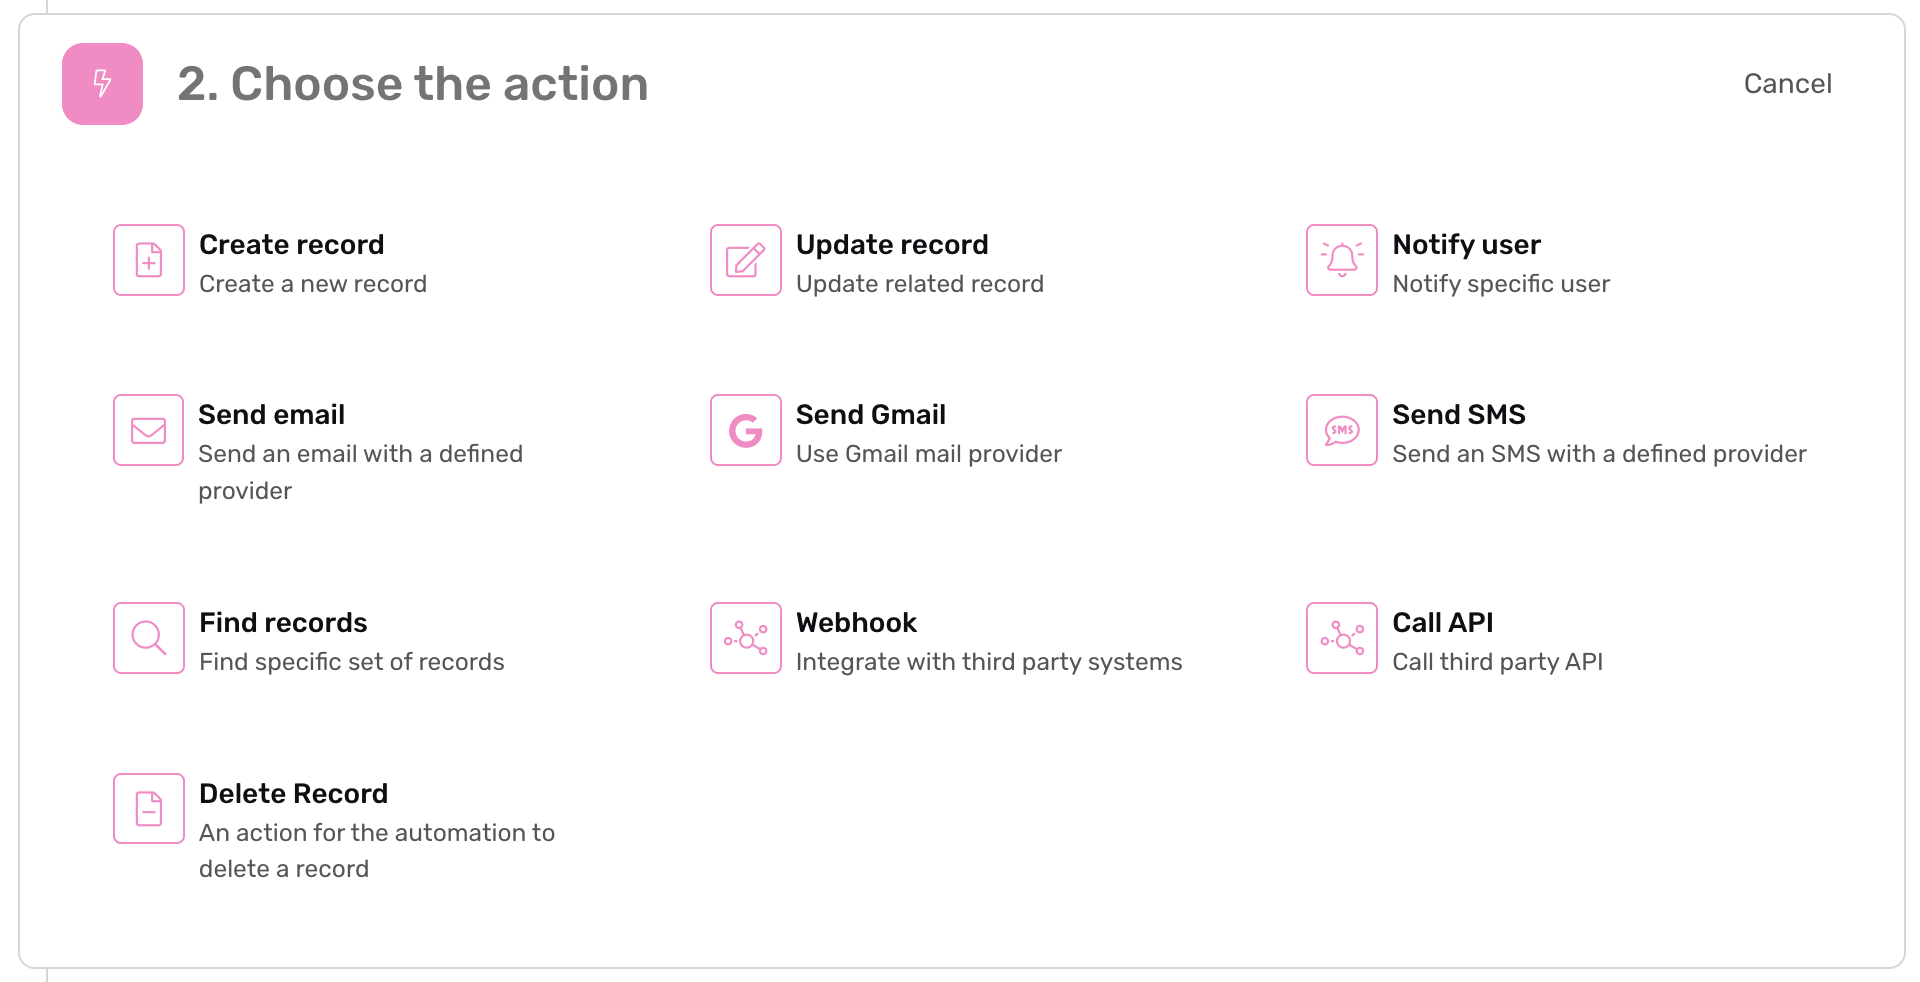
- In the action step select “Gmail”
- Click the dropdown to add you integration
- Click Allow When Prompted
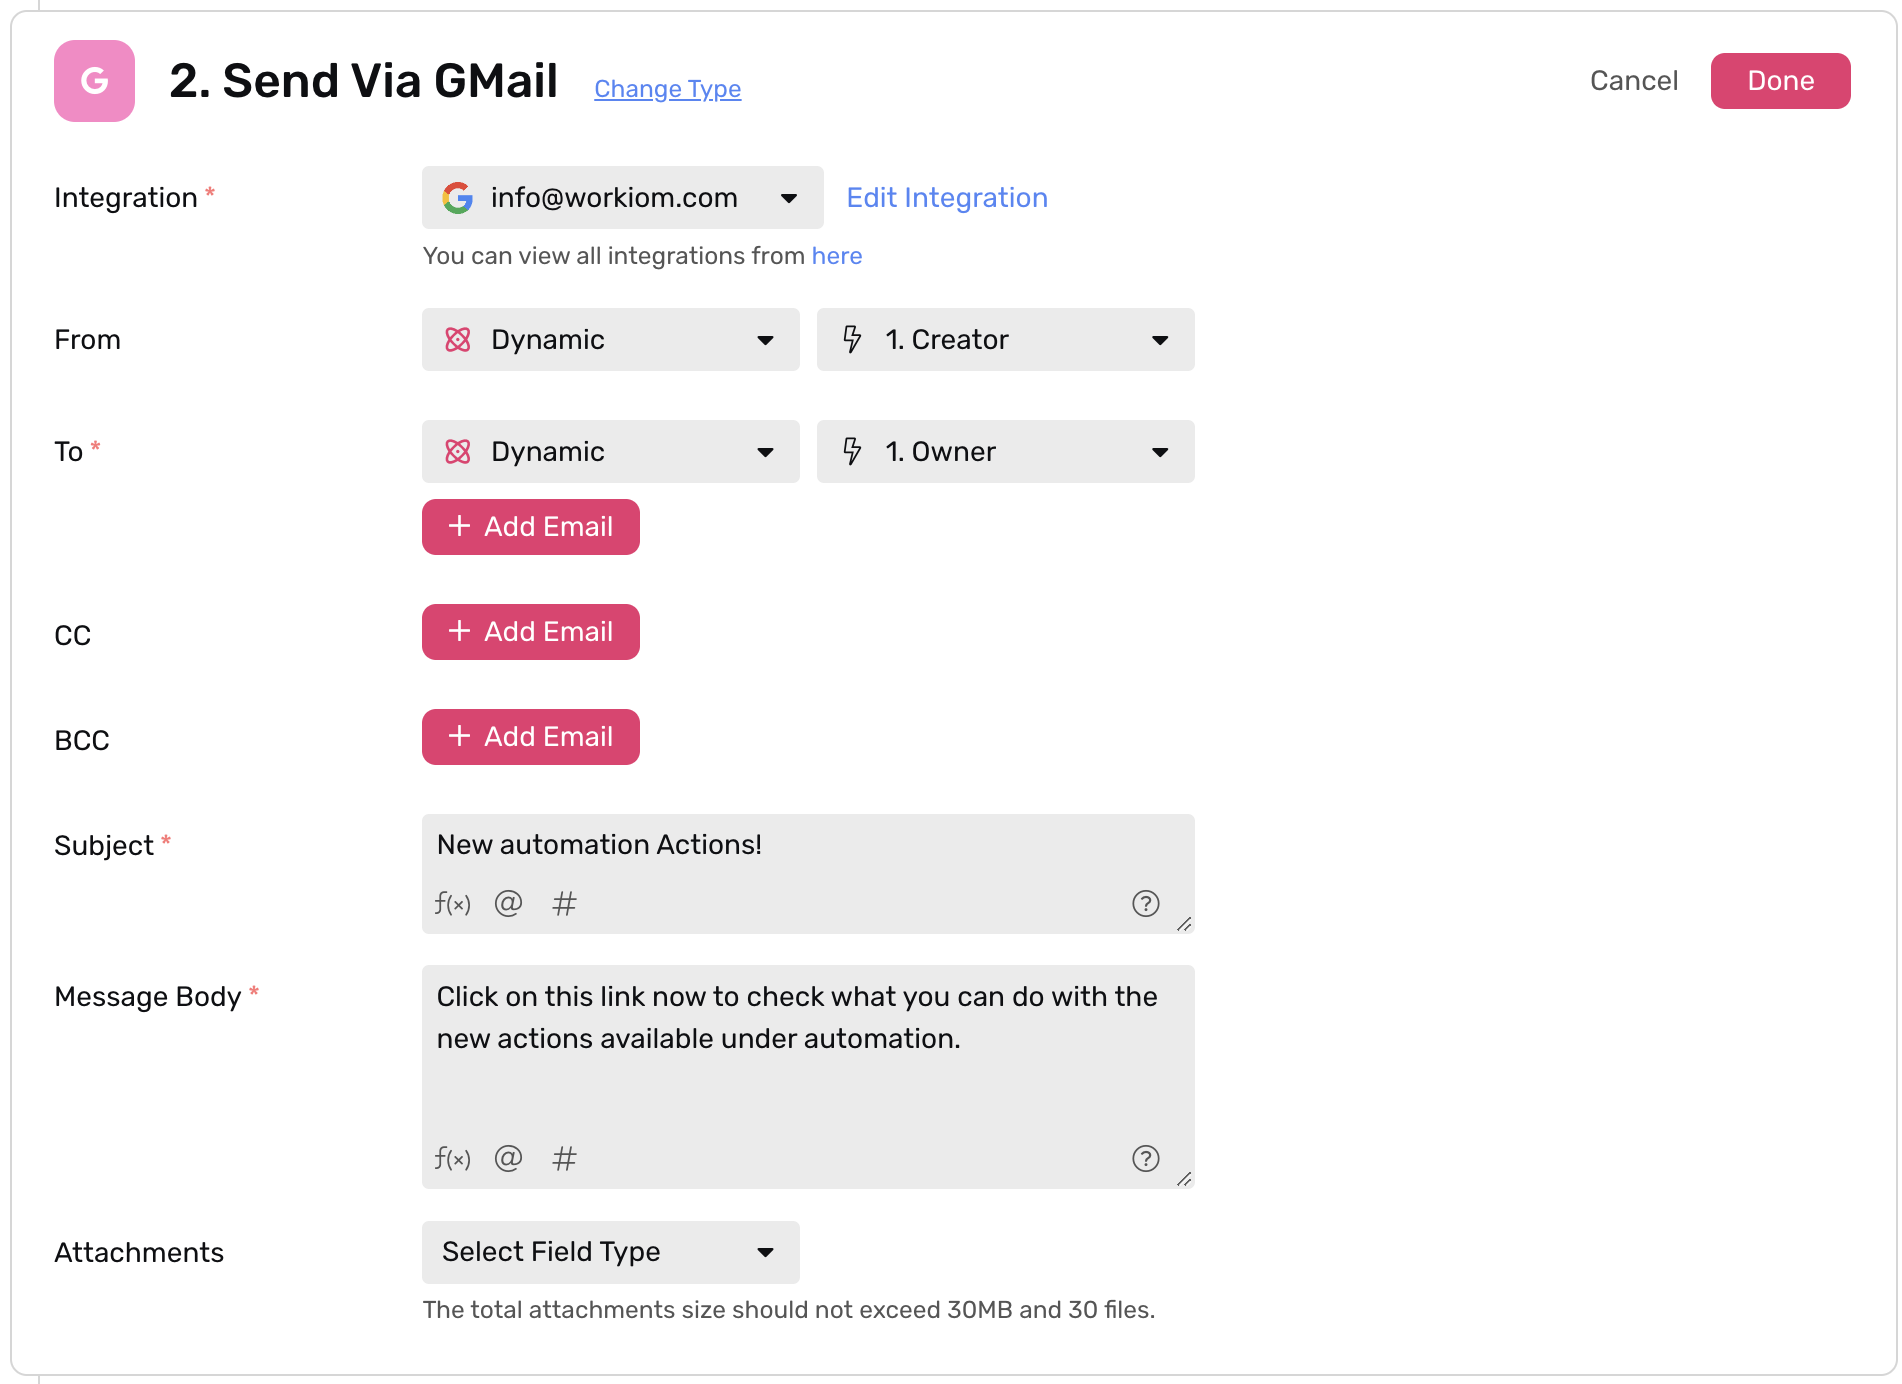
- Then start configuring your Action
- Select the Sender
- Static: to make the sender a fixed user in your workspace
- Dynamic: you can
- Select a user related to a record from the tigger or output from find record (e.g. Creator, Last modifier, Assignee, Owner etc..)
- Select a user by matching their name with a property from a coming webhook
- From: To specify an email address that you would like to appear as the sender.Note: Only emails that have the same domain as the gmail account you integrated with can be used.
- To:
- to add the recipient/s, you can click “Add Email” button for each extra recipient you’d like to add.
- And don't forget the CC and BCC options
- Subject: the subject line of the email
- Body: the body of the email, you can write it as a plain text, or in HTML format.