Status
Track the progress of your task, project or any other process with this field. Determine the statuses, name them, color them and start getting things done.
Transcript
Creating a Status field
- Under any list click on fields
- Click + Create New Field
- Type in a field name
- From “Field Type” Drop Down List select “Status List”
- You will have 3 Statuses by default
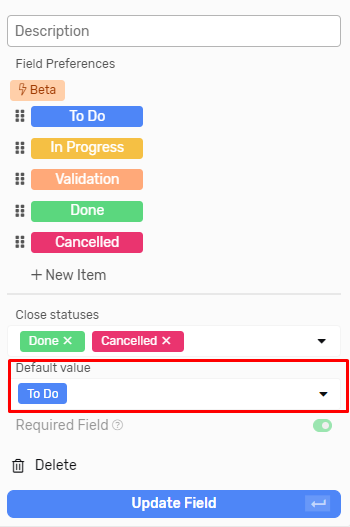
- To Do, this will be the default value of the field, you can change it.
- In Progress
- Done, this will be the closure status of the field, you can change it or add more closure statuses.
- You can then add Statuses by clicking on “+ New Item”, Each status has
- Value, and this is the text written within the status.
- Color, you can select the color of each status from a range of colors from the menu right next to the status.
- You need to keep at least one status to be able to create the field.

Status Field Options
Default Value
- It’s the value every task will have when created unless changed upon creation.
- It’s the status where the task will be considered not started.

Closure Status
- It accepts multiple statuses
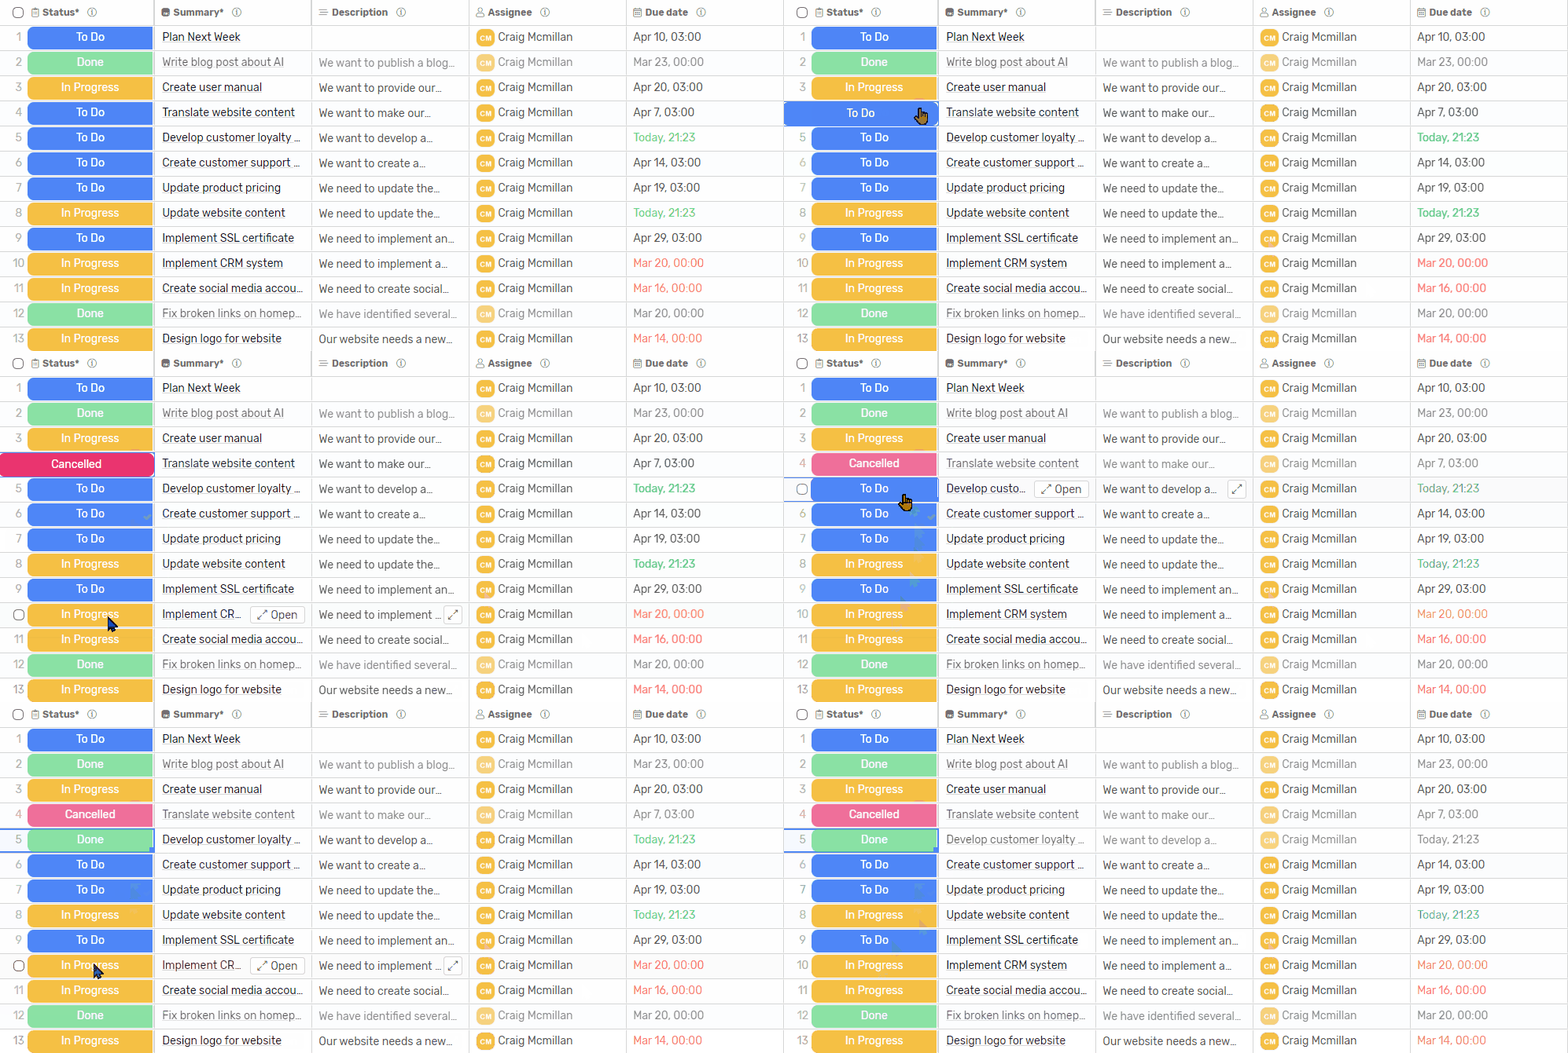
- Tasks in this status are considered done and will be
- Hidden by default under My Work.
- Grayed out in list view.

Tips and Tricks
Bulk adding statuses
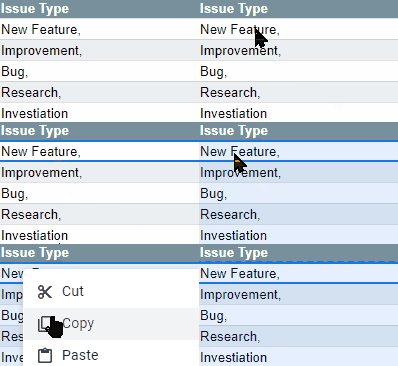
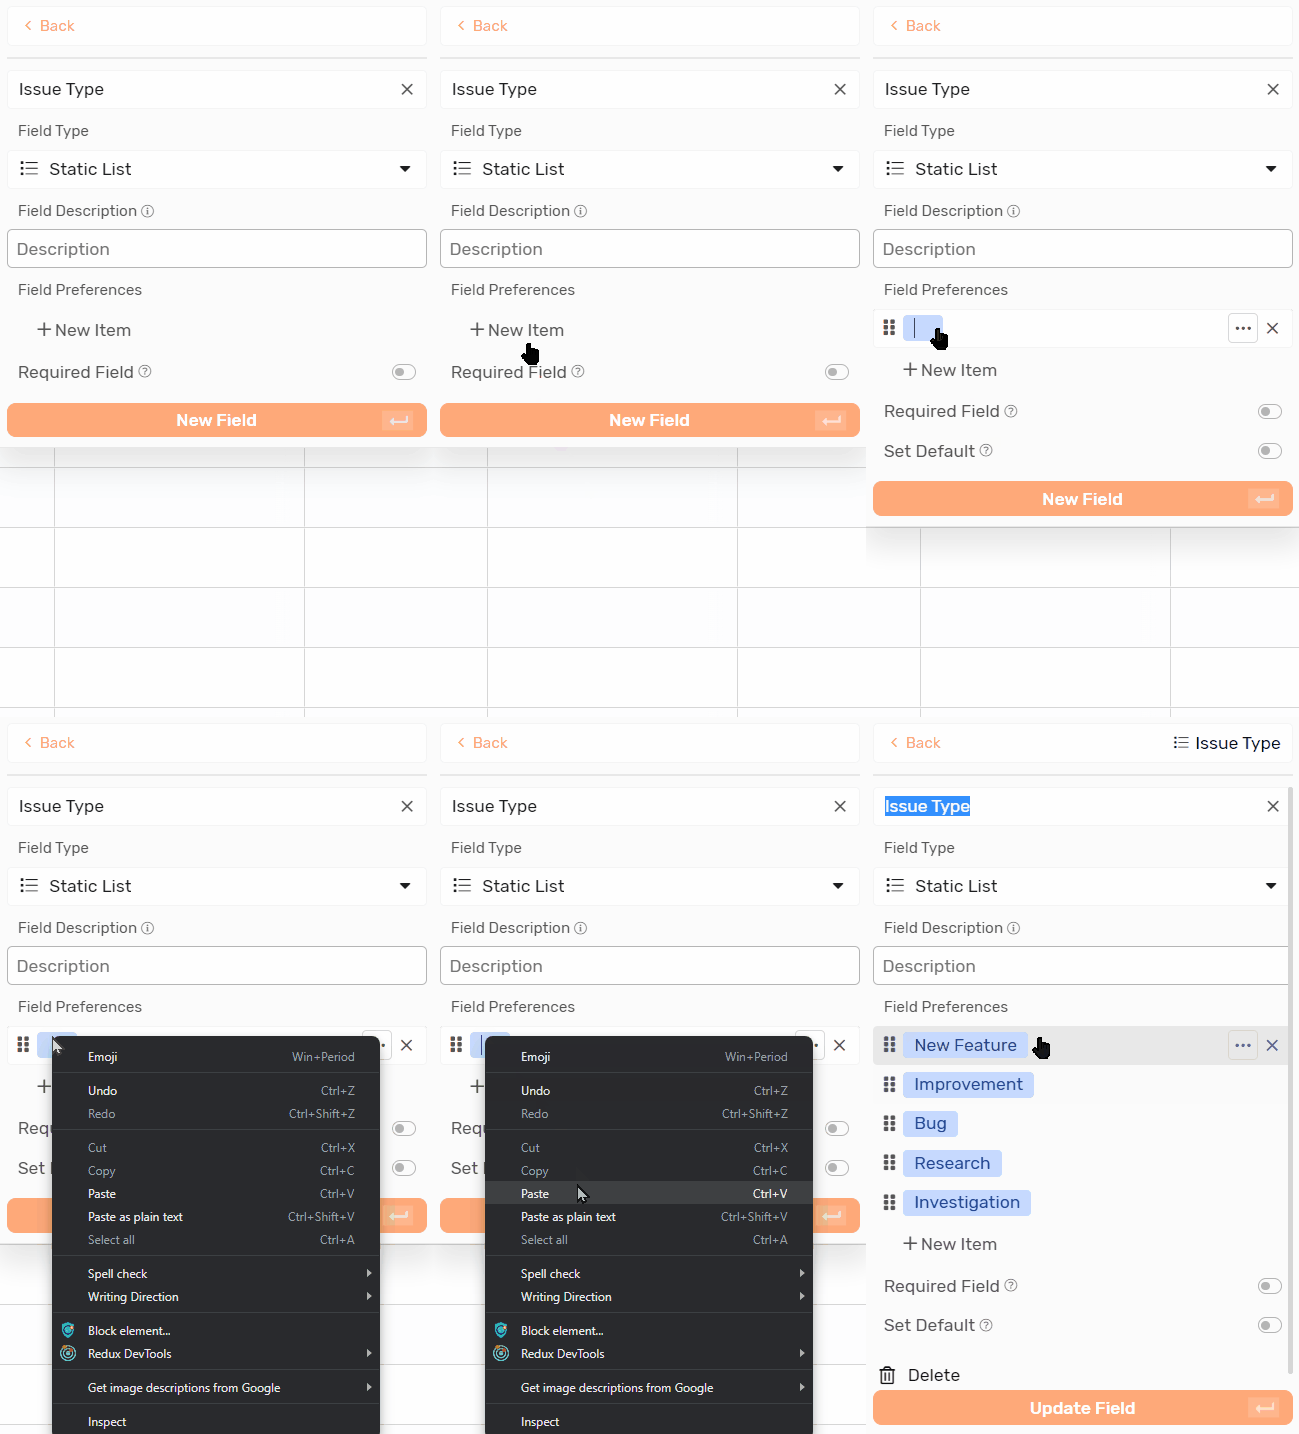
You can add statuses in bulk by doing the following:
- Separating statuses with a comma “,”.
- Copy the values with the commas and paste it into the status’ value.
- The comma will act as a separator between statuses and multiple statuses will be created.


Adding Emojis
- Using Windows
- In the statuses value click Windows logo key + ;
- The will show a list of emojis and you can start typing to find the emoji you’re looking for.
- Using MacOS
- In the statuses value click Ctrl + CMD + Space
- The will show a list of emojis and you can start typing to find the emoji you’re looking for.
