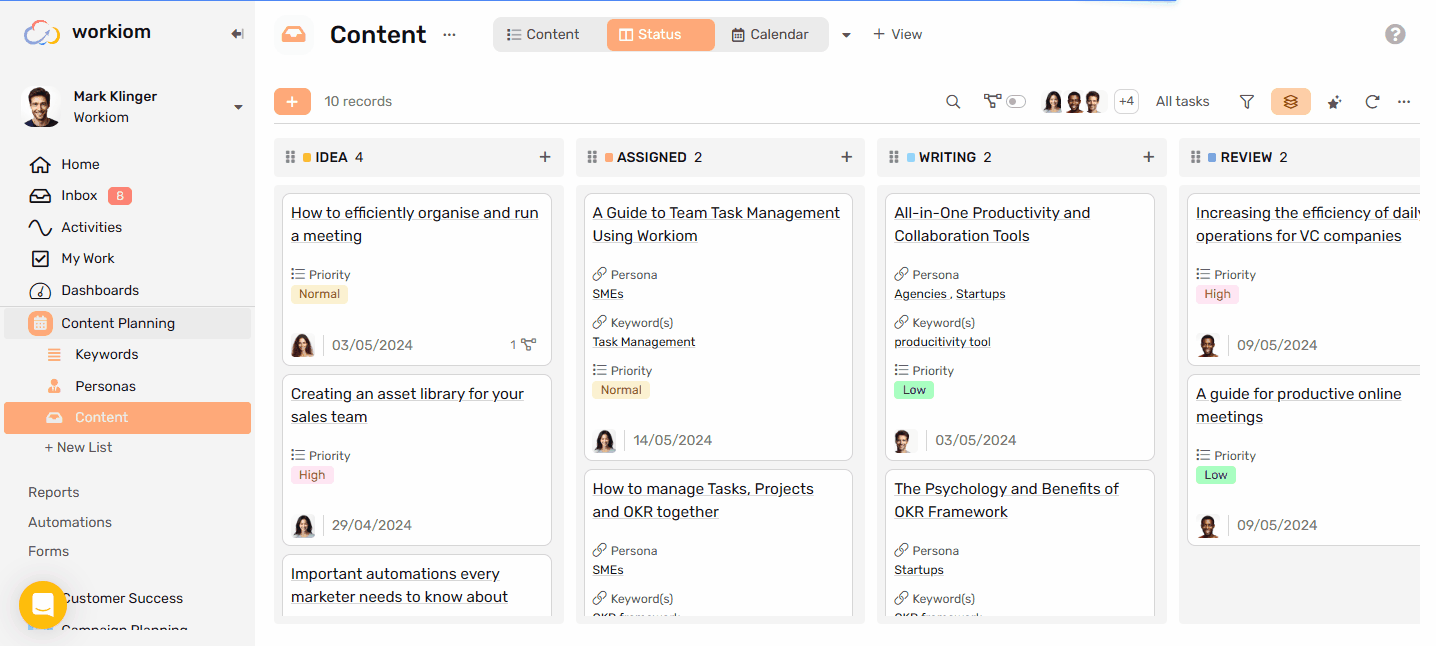
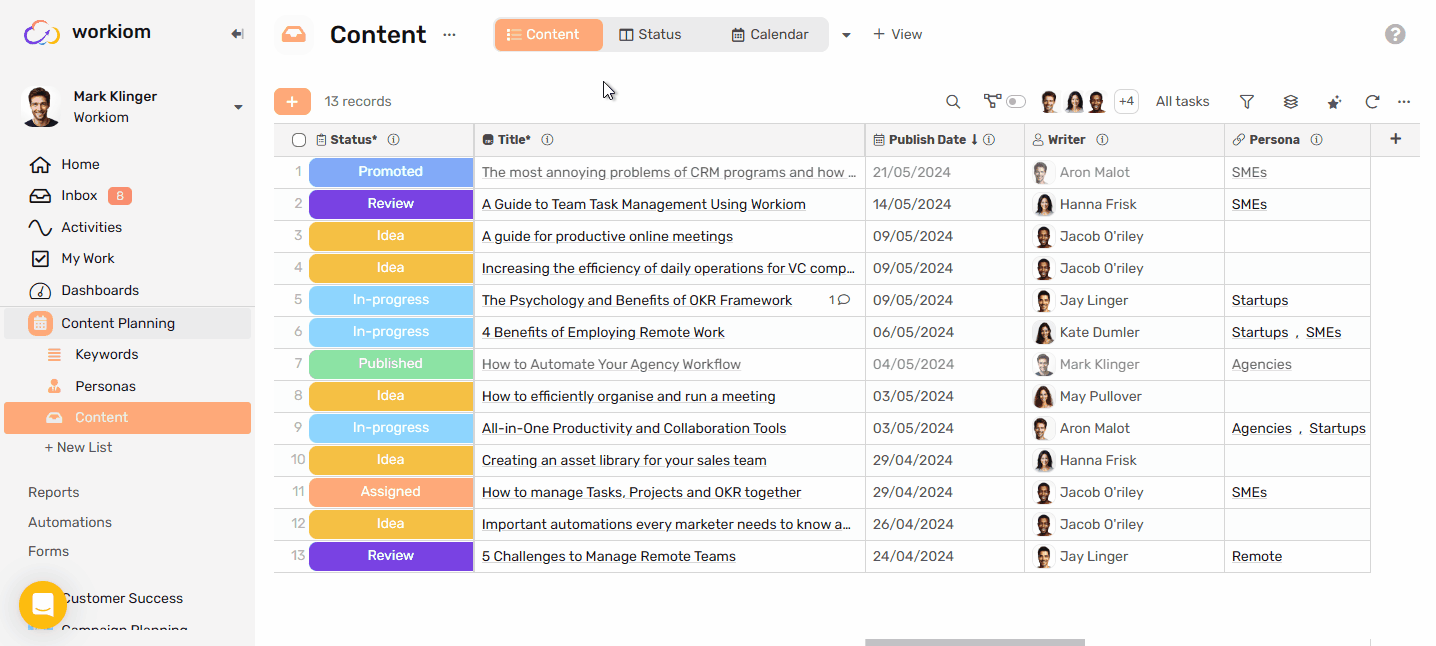
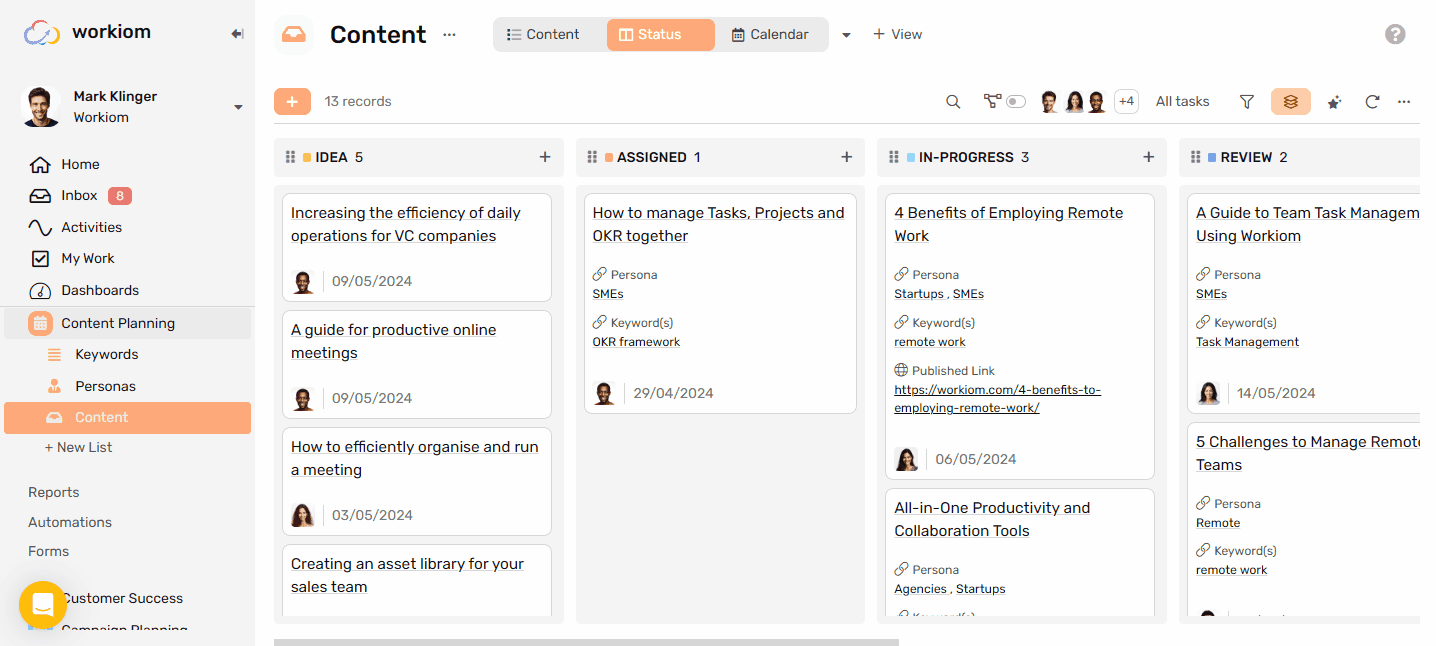
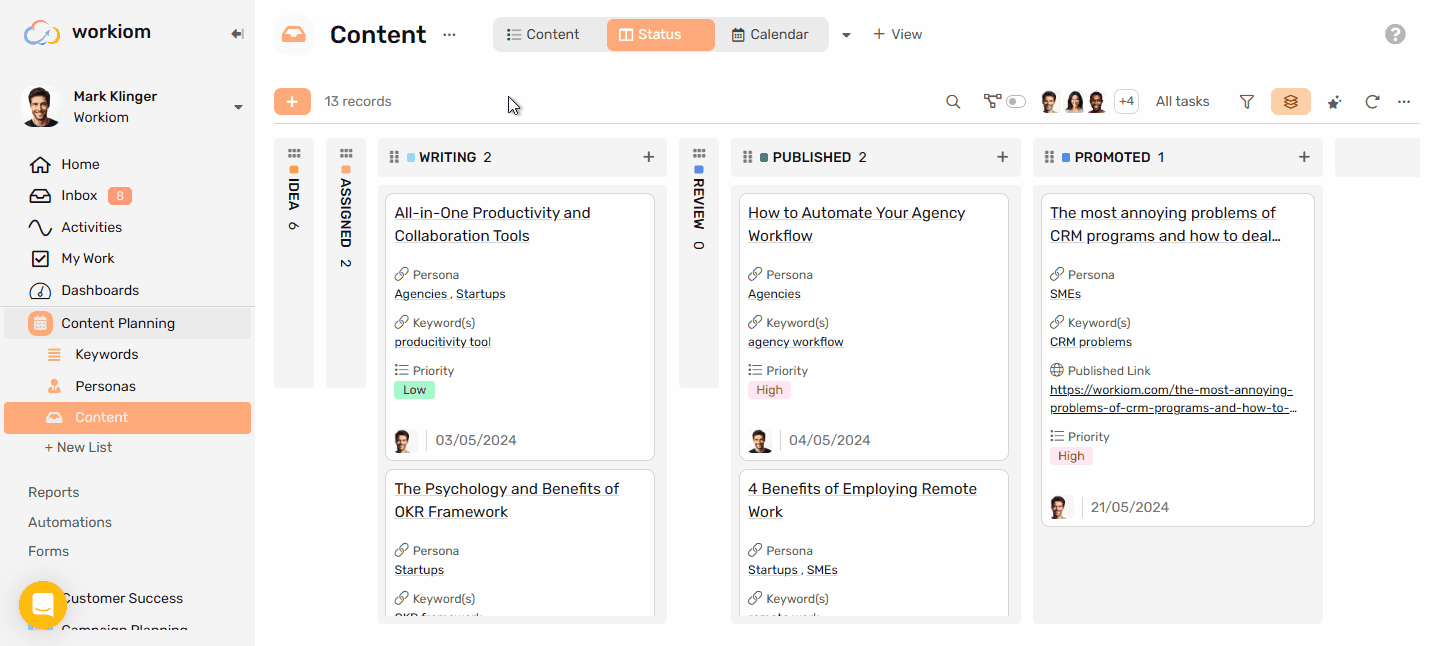
Board View
Board view allows you to focus with your team on progressing tasks forward, by seeing how many tasks are accumulated in each step of the process, with clear next and previous step.
Transcript
Creating a Board View
- Under any list click on the + View button
- Name the view
- Select Board
- Select grouping field (mandatory)
- The list should have a static list or a status field to group the columns by.
- Click Create, and you have your new Board view.
View options
Board Customization
Density
Normal
The recommended viewing density with:
- Field labels.
- Field values on the same line as the labels, with longer values omitted to keep the view clean.
Full
- Field labels.
- Field values in a separate line under the label, given more space for easier readability.
Minimal
- No field labels
- Just field values
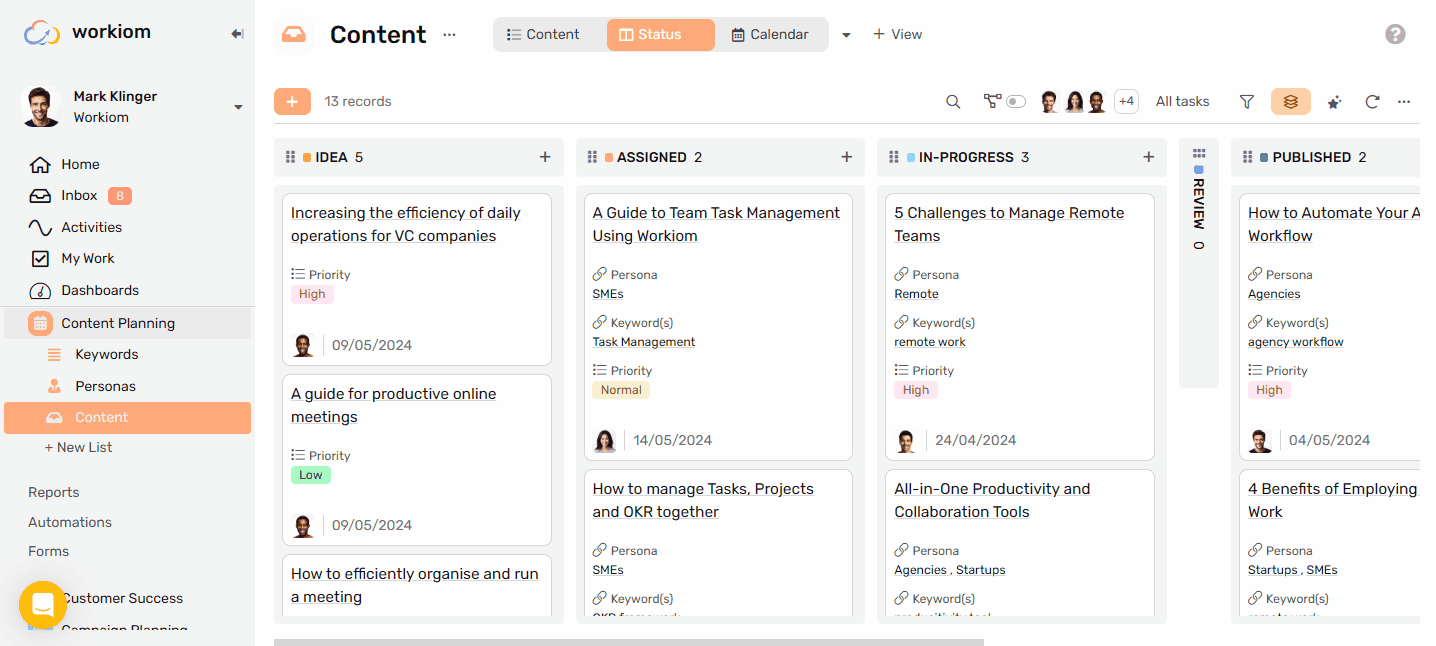
Fields (Columns)
Creating a new Field
- Under Board Customization
- Click on the Fields drop down menu
- Click + New Field
- And then continue to customize your field
Show/Hide Fields
- Under Board
- Click on the Fields drop down menu
- Use the toggle next to each field to show/hide
Order Fields
- Under Board Customization
- Click on the Fields drop down menu
- Before each field you will see a drag indicator.
- Click and hold it then move the field to the order you’d like to see it at.
- Repeat for all fields until you’re satisfied with their order.

Show Completed Tasks
- In task lists you have the option to show/hide completed tasks
- Completed tasks are determined by whether they’re in a closed status or not.
- The option is disabled by default
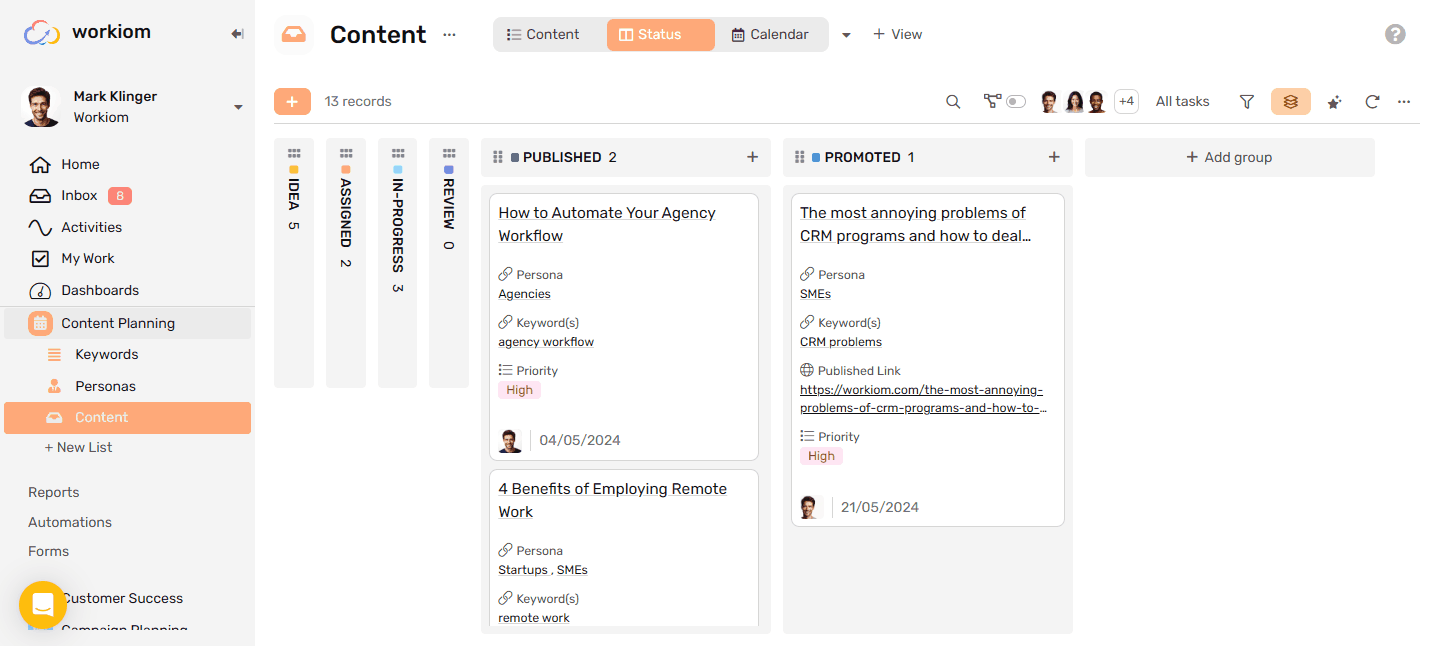
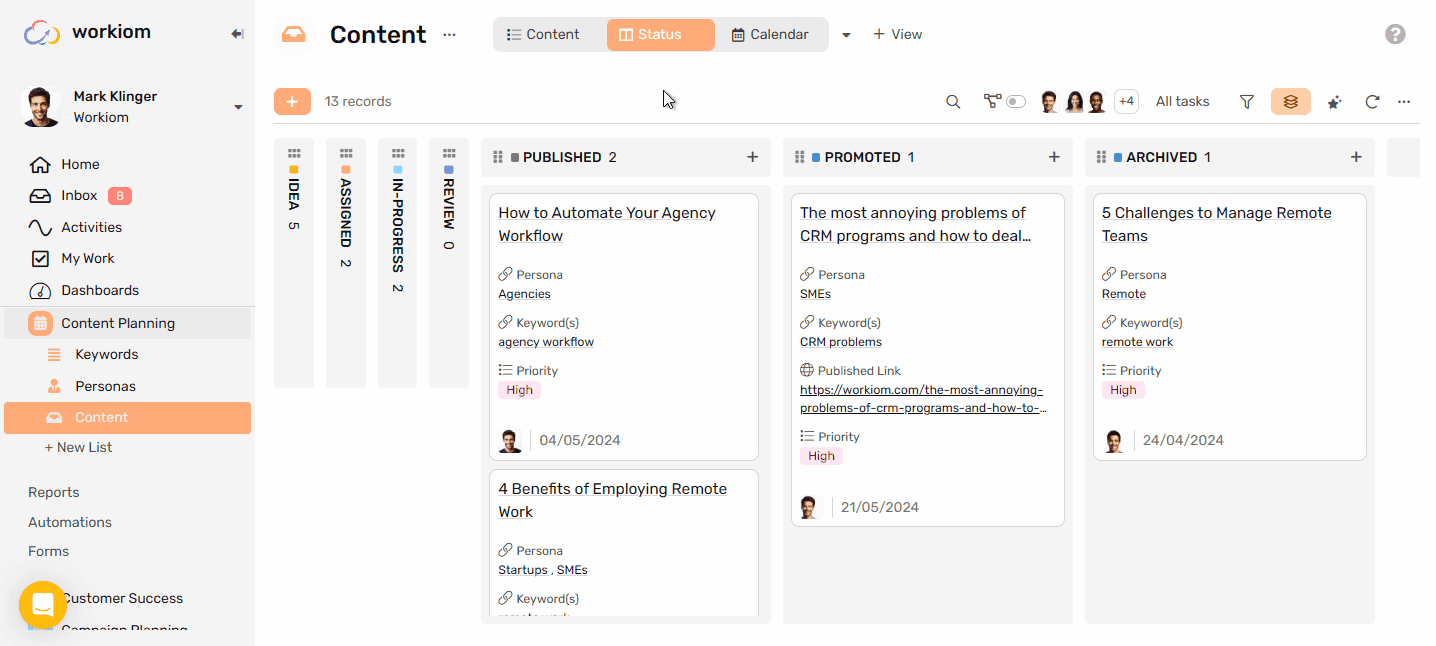
Collapse empty columns
- You can toggle this option to auto collapse columns when they become empty
- This help keep the board cleaner
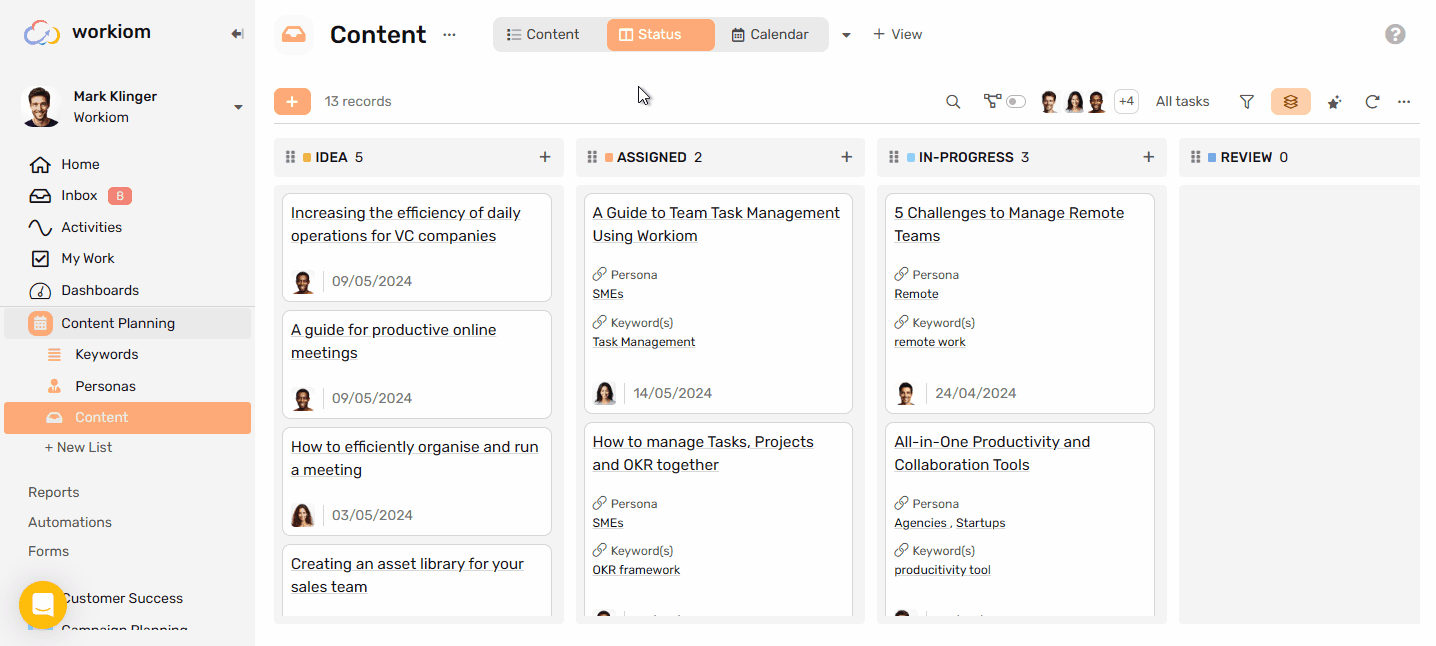
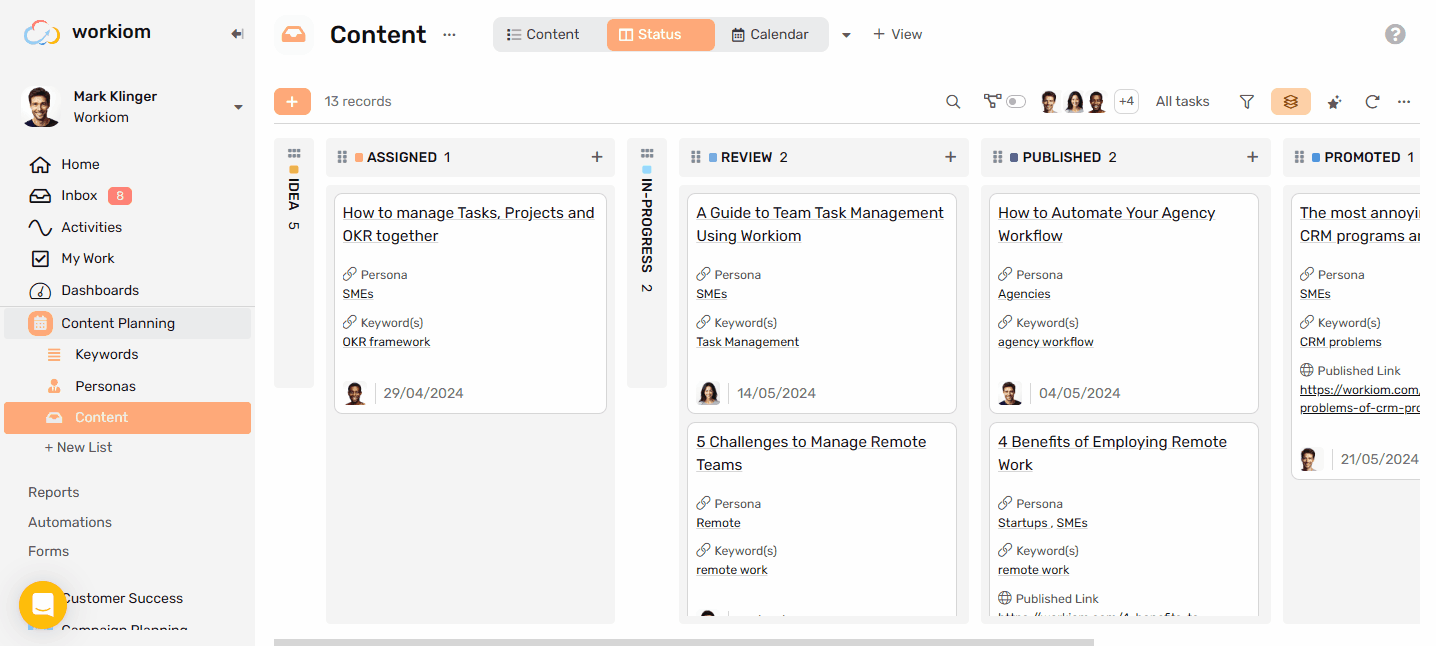
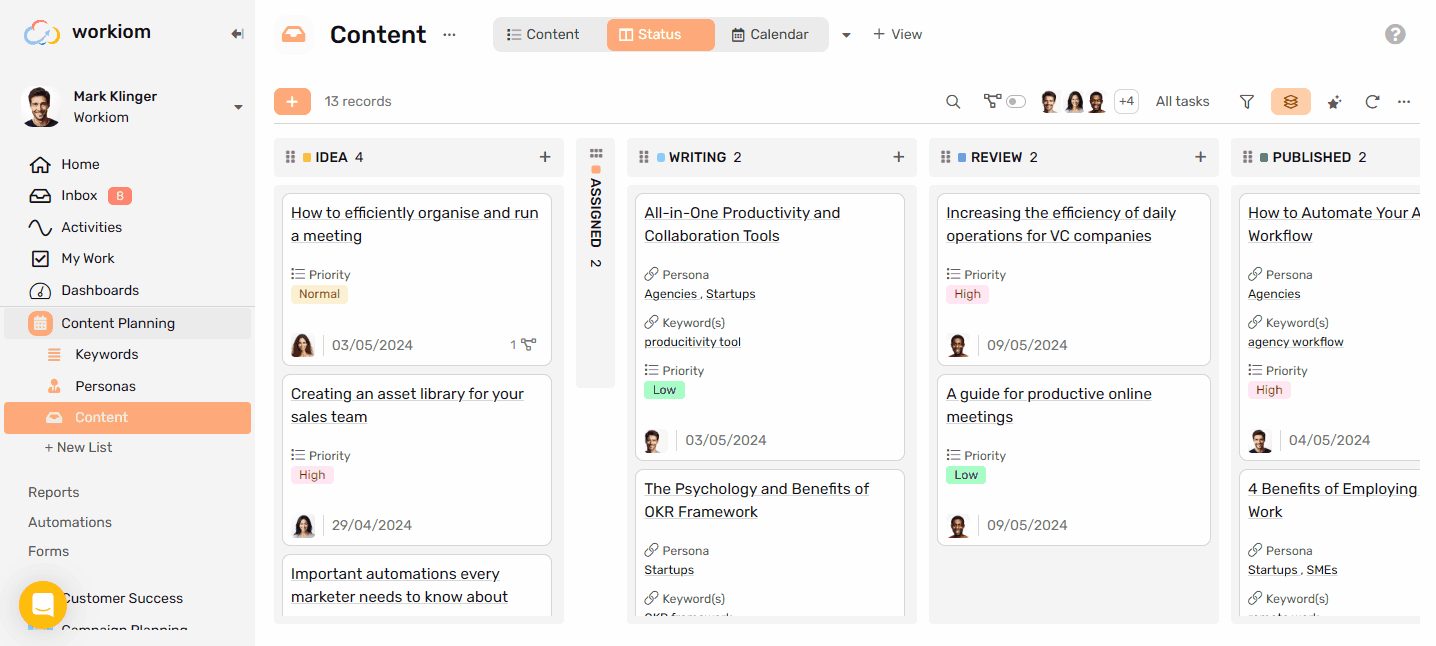
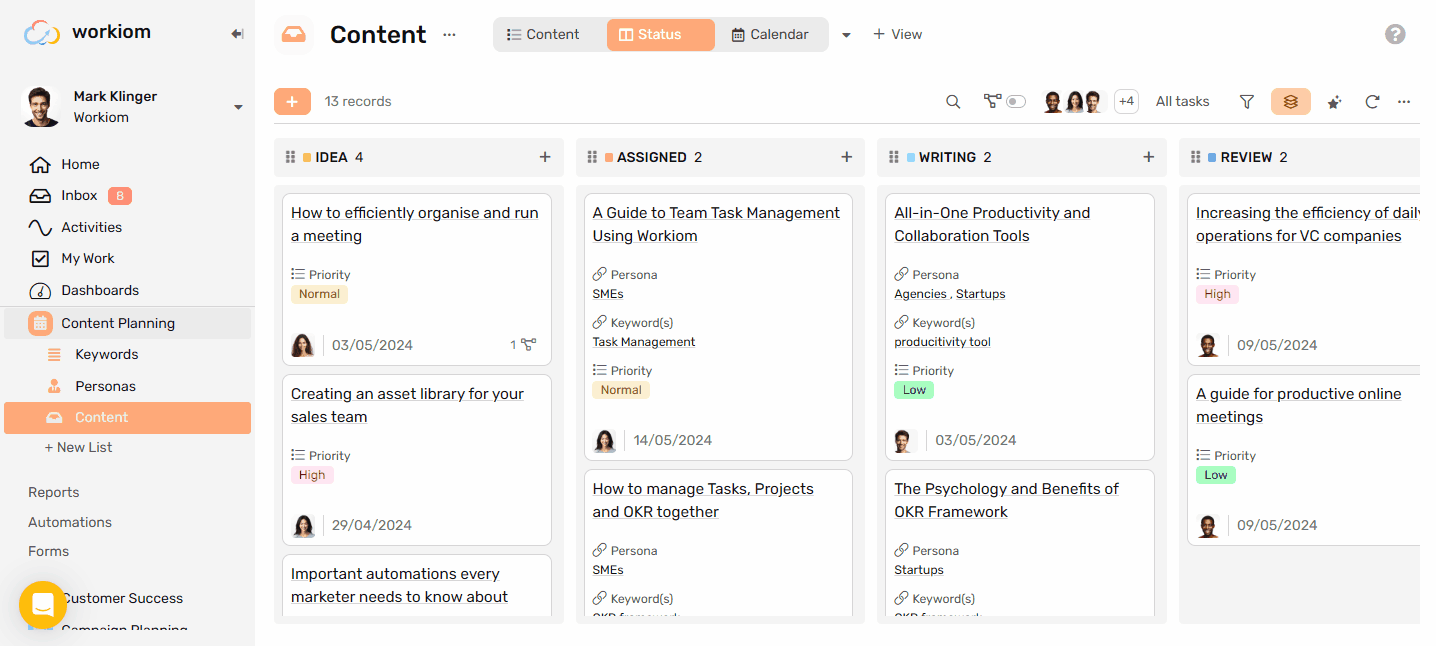
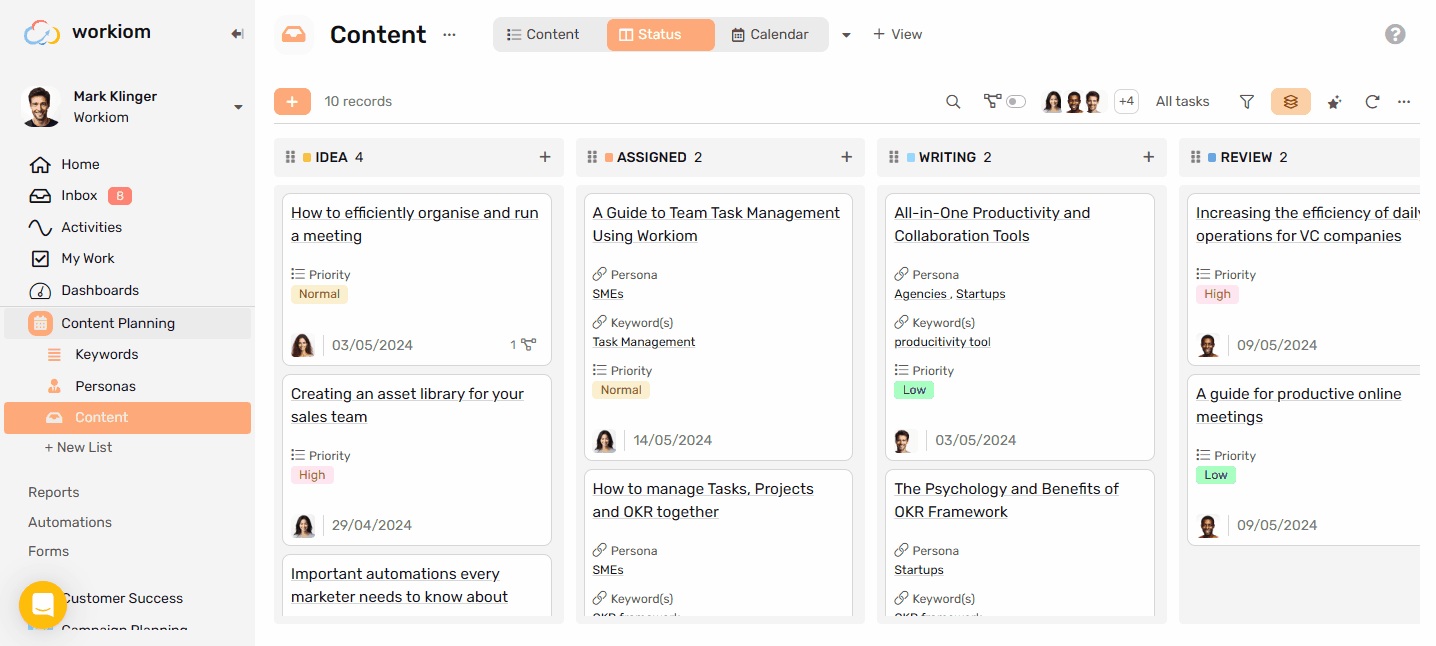
Grouping/Columns
You can group records based on a static list or status
- Click on grouping
- Select the grouping field from the available grouping fields in that list
- Each column can be folded or opened separately
Create Columns
You can easily add more columns by simply:
- Scroll to the last column
- Click “+ add group”
- Type in a name
- Give it a color, and you’re good to go.
Delete Column
- Hover over the column you want to delete
- Click the 3 dots menu
- Select delete column
What happens to the card in the column?
- If the field is mandatory the cards will go to the first column on the board
- If the field is optional the cards will go ungrouped column
Rename Columns
- Hover over the column you want to delete
- Click the 3 dots menu
- Update the name to your liking

Change Column color
- Hover over the column you want to delete
- Click the 3 dots menu
- Select one of the available colors
Rearrange columns
- Simply grab the column you’d like to rearrange by the handler
- Drag it and drop it in its new location
Tasks lists options
Show Subtasks
- You can toggle this option to show subtasks on the same level as their parent tasks
- The option is toggled off by default
- Tasks with subtasks can be easily spotted by checking the the subtask indicator
Assignee Filter
- You can easily filter tasks per assign by clicking on the assignee’s picture
- You can select more than one assignee at the same time and this will display the tasks for all selected assignees.
Due Date filter
- You can select one of the quick filters for an easier alignment with your team
- All tasks (Selected by default)
- Due Today
- Due This week
- Overdue
Create a record in column
- Next to the column label you see a + sign
- Click it to create a record
- The record will appear at the top of the column