
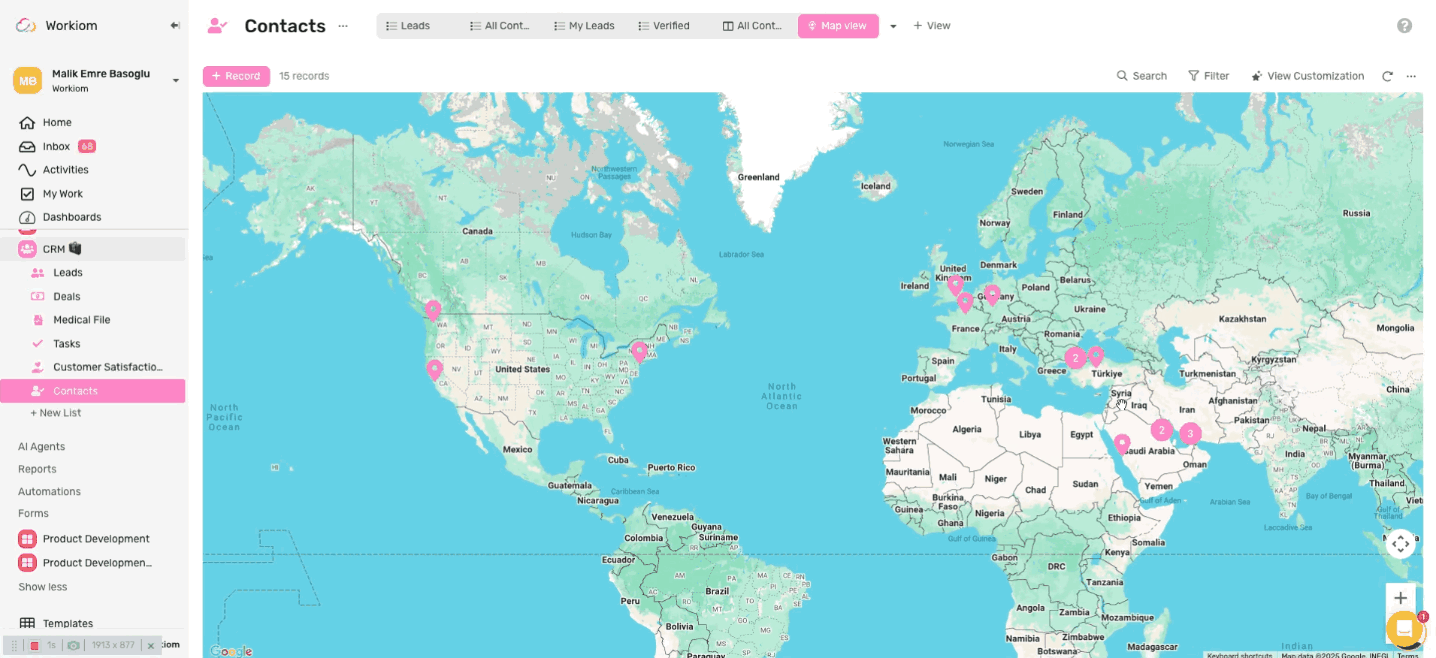
Map View
This view helps you spot trends, manage workloads by region, or simply explore your data on an interactive map.
Transcript
How to Set Up a Map View
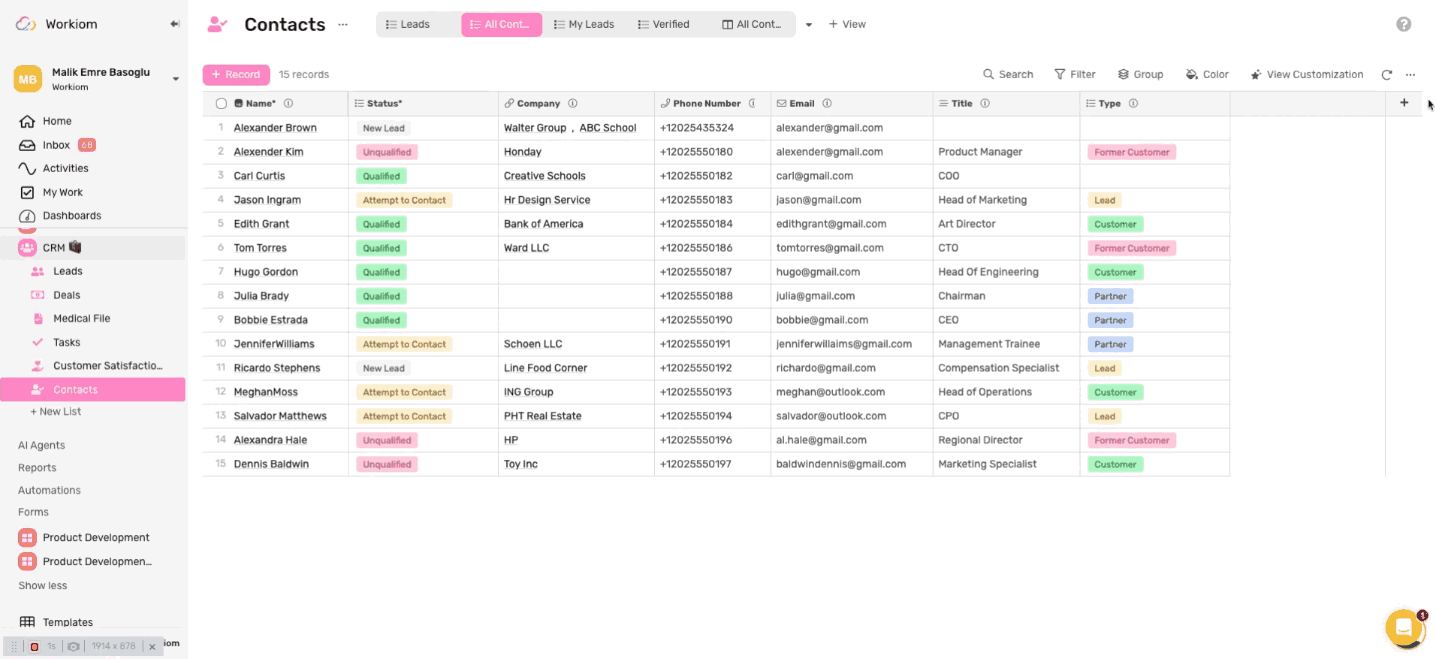
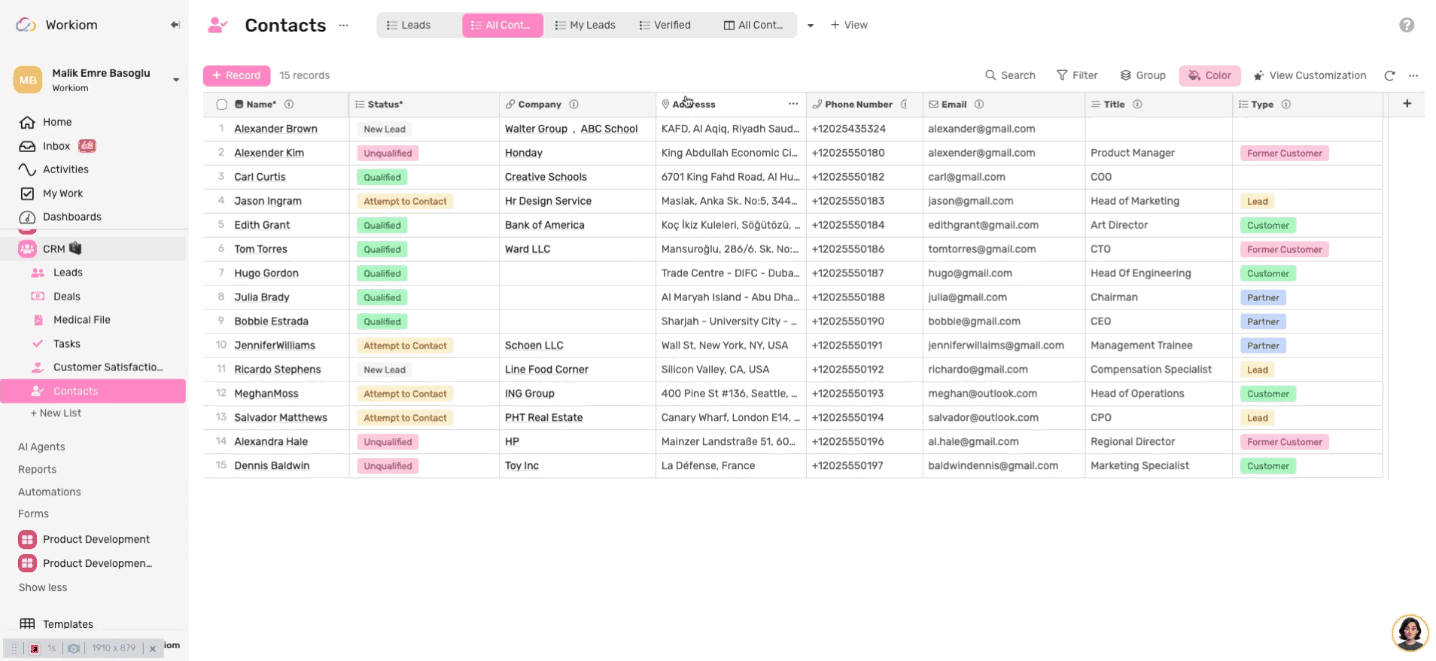
To get started, you need to have at least one Location field in your list.
1. Add a Location Field
- Go to your list.
- Click Add Field.
- Choose the Location field type.
- Name your field (e.g., “Project Location”).
- Click Create.
You can now add a location (address) for each record in your list.
2. Add a Map View
- Click the + next to your views.
- Select Map View.
- In the configuration panel, choose which Location field to use for placing records on the map.
- Click Create.
Interacting with the Map
- Pan and Zoom: Move around and zoom in/out freely.
- Pin Clustering: When zoomed out, nearby pins are grouped into one circle showing a count. Zoom in to expand them back into individual pins.
- Hover Preview: Hover over a pin to see a quick preview of the record. You can customize which fields show in the preview from the view settings.
- Record Access: Click a pin or its preview to open the full record.

Searching and Filtering
- Use the Search bar to find records with specific details. Only matching pins will show on the map.
- Use Filters to limit what pins are shown based on field conditions (e.g., only show “Active” projects).
Tip: Use Map View with filters to plan regional tasks, track field teams, or view service coverage.
Need help? Reach out to our support team or check out the full guide for using other views.