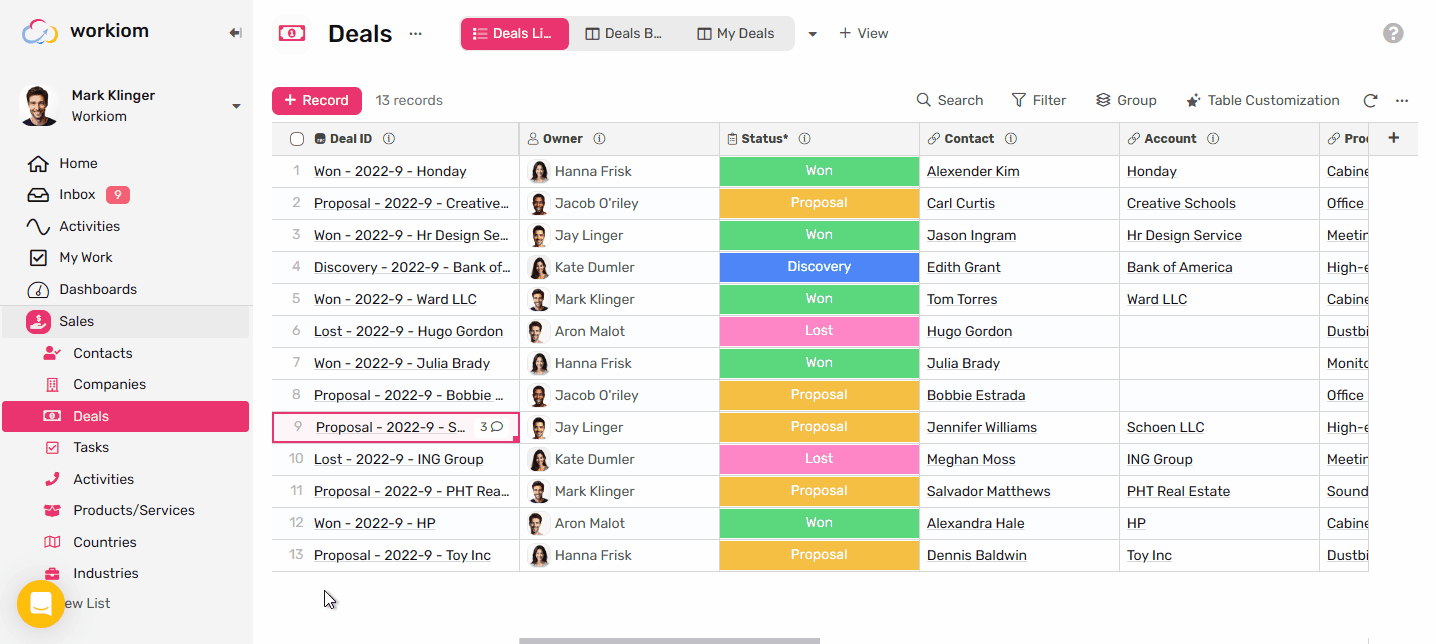
Record Layout
A better way to view your records’ details, grouped, organized and clean for maximum efficiency and ease of use.
Transcript
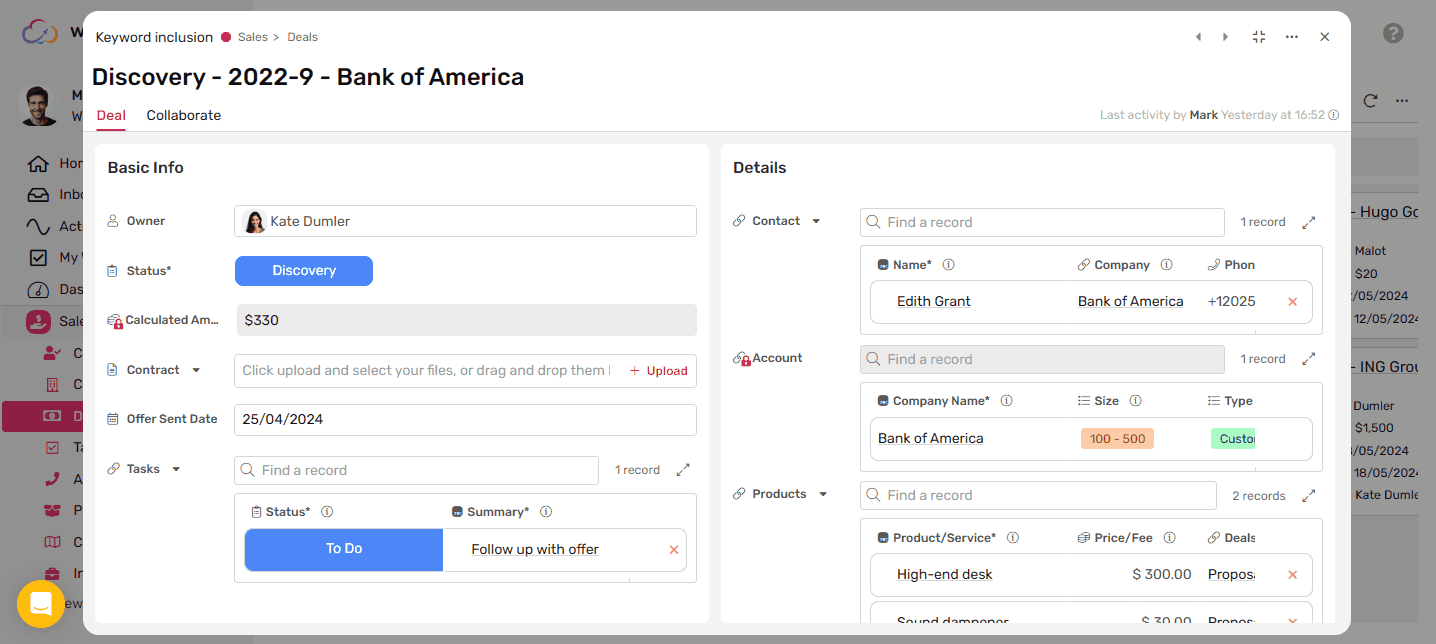
Layout Structure
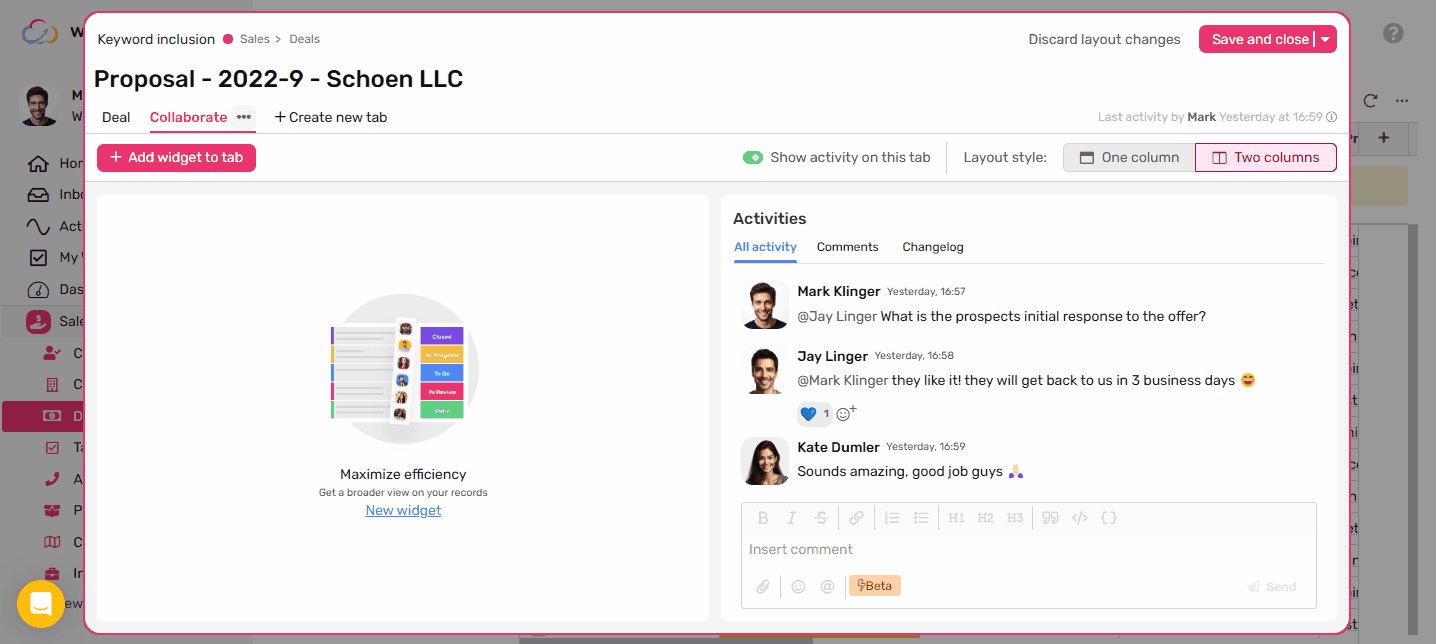
Tabs
- Tabs are how you can group data in your record to help the team to get to what’s important in the best way possible.
- You can create multiple tabs in your layout
- To add another simply click “+ Create new tab”
- Give your tab a meaningful name based on what you’re planning to display inside of it.
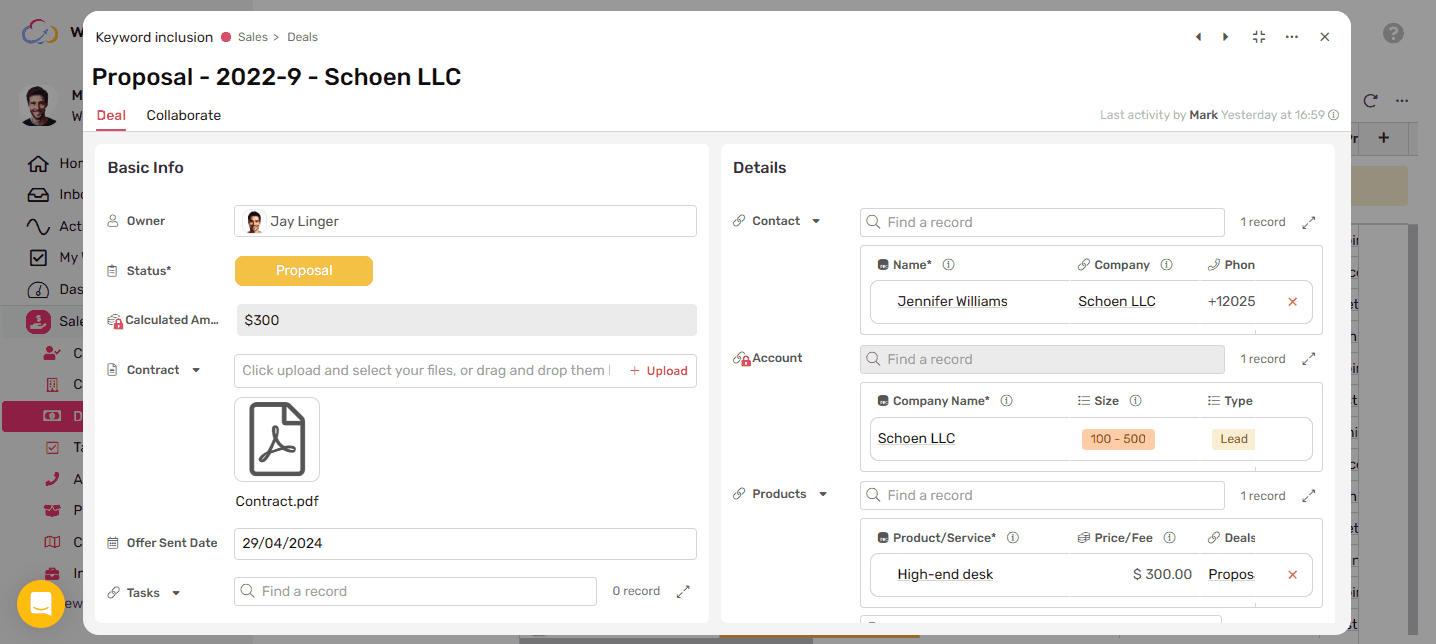
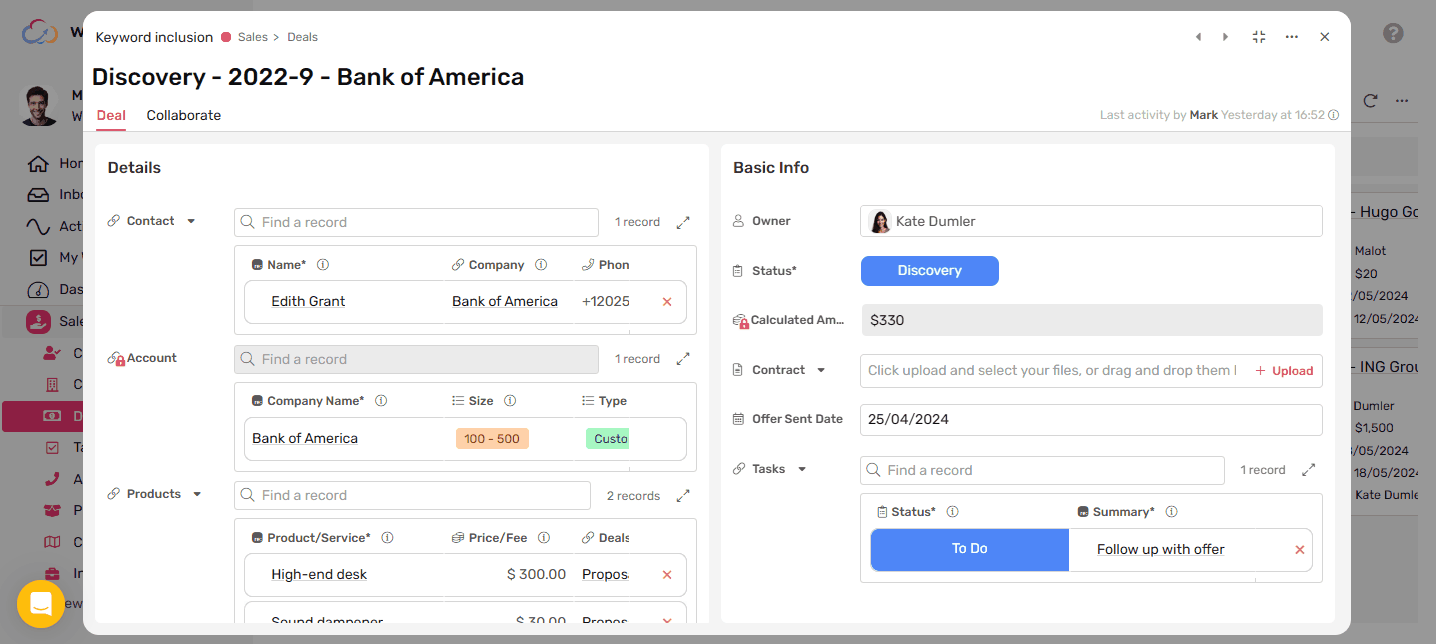
Columns
- Columns are where you organize your widgets under the same tab.
- You can toggle One column mode for focused view on a specific set of widgets.
- Or you can toggle Two columns mode to get more relative information in one place.
- Each column should contain at least 1 widget.

Widgets
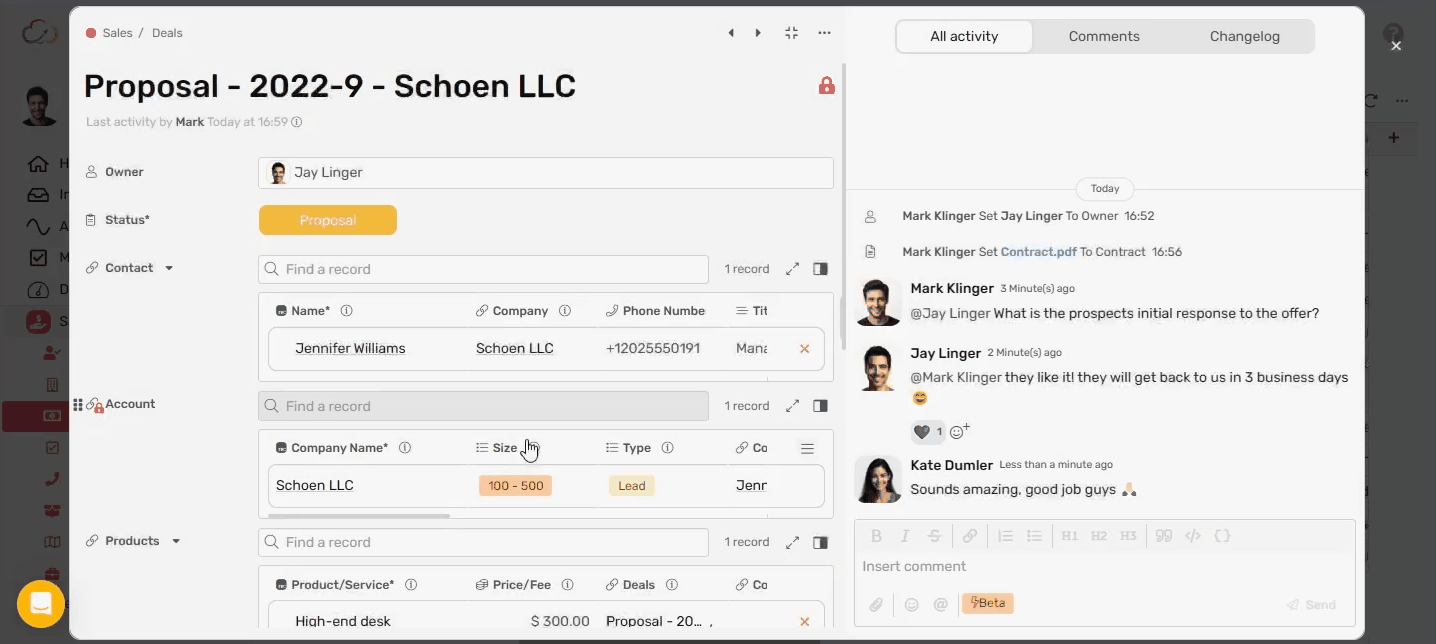
Activity Widget
- The activity widget is where you collaborate with your team, and see all changes that happened to your record through time.
- You can select whether to show or hide the activity widget in the current tab by toggling the “Show Activity on this tab”
- Each layout you create should have at least one activity widget under any tab you select
- If you choose not to add the activity widget to any of your tabs an automated tab will be created to host your activity widget.
Field Widget
- Field widgets are where your fields reside
- You can add more than one widget in a column, and they will stack vertically
- You can drag and drop widgets to rearrange in the same column
- If you have field widgets in both columns you can drag and drop widget between columns.

How to Create a new Record Layout
- Go to any record
- Click the 3 dot menu
- Click edit layout
- Add as many tabs as you need
- Name your tab with a name that will help related team members find it easily amongst other tabs.
- You can configure whether you want your tab to have One or Two columns.
- You can show/hide the activity widget on the tab.
- Add widgets to your tabs
- Name your widget to help your team know what kind of data they should expect to see in the widget.
- Add the fields the you want to see in the widget
- Arrange the fields by dragging and dropping them until you’re happy with their order.
- Click done
- Once you’re happy with your layout, click “Save and close”
- Name your layout so you can easily find it later and use it for other views.
- Once done the layout will be automatically applied to the current view.
Working with existing layouts
Applying a created layout to view
To apply an already created layout to any view
- Hover over the view in the views bar
- Click the 3 dots menu
- Select the layout you’d like to apply from the “Record layout” drop down menu
- Click update, and the layout is applied to that view.

Updating an existing layout
Easily edit any layout by following those steps
- Go to the view where the layout is applied
- Open any record under that view
- Open the records 3 dots menu and click “Edit layout”
- Apply all the updates until you’re happy with the result
- From the save drop down select “Save and Close” option
- Now your layout is updated and applied to the current view
Create new layout based on existing one
You can simply create new layout starting from a one that is already created for the same list
- Go to the view where you’d like the new layout to be applied
- From the views menu select the layout that you’d like to start from and apply it to that view
- Open any record under that view
- Open the records 3 dots menu and click “Edit layout”
- Apply all the updates you’d like to see on the new layout
- From the save drop down select “Save as new layout” option
- Name your layout and click done
- Now you have your new layout and it’s applied to the current view

Permissions
- Only Workspace Owner & Super admins can create or update layout under any app.
- App owners can create or update layout for their apps only.
- Other users can’t edit or create layouts, and will view the layout as configured by the admin or app owner on the view.
Going back to the old layout
If you’re not yet feeling ready to play with the new record layout, you can go back to the old layout as follows:
- Go to the view where the new layout is applied.
- From the “Record layout” drop down select “None”.
- Update your view and you will be back to the old layout.